Concrete DIY Tips
Concrete DIY Tips
Every effort has been made to ensure accuracy and safety. We always recommend using a qualified concrete contractor to ensure quality results. Chaney Enterprises cannot be held responsible for damages or injuries resulting from the use of the information in this document. Often times a contractor can be less expensive because of tools, experience and volume discounts in addition to the time savings and security of knowing it will get done right.
Most do it yourself projects are concrete slabs like a sidewalk, driveway, patio, etc. The guidance below is for that type of concrete work, but many of the principles apply to other concrete scenarios.
- Shovel
- Boards (or other suitable form materials)
- Hammer
- Nails
- Level
- Garden Hose
- Finishing Trowel
- Edger
- Brush or Broom (for dragging the surface)
- Cure and Seal
Preparation (Designing, Planning, Forming and Measuring)
The base under the concrete should be stabilized to ensure that it will not settle or move. Often time, concrete can be place directly on the non-frozen ground, but a compacted aggregate base (of stone or gravel) can help stabilize the ground.
Forms for the concrete are very important to get right. The first consideration for forms is exterior concrete slabs is that they will need to be set (pitched) at an angle to avoid water puddling on the concrete and drainage problems. A minimum angle of 1/8 inch per foot should allow water to flow off the slab and away from existing structures.
If any level of reinforcement is needed for major projects, it’s likely best to consult with a concrete contracting professional. Too often, reinforcement is done incorrectly, in which case, it may be better to not have it at all. Proper jointing (see below) can address one of the reasons for reinforcement. If reinforcement is needed for load transfer between slabs or for significantly heavy loads, you will need to consult a professional.
Ordering
Check out our section on ordering concrete and our concrete volume calculators to make sure you have all your information ready for our customer service representatives when you call.
Placement and Finishing
Concrete is a perishable product, so speed of the pour is very important. This will protect the concrete and help you avoid additional charges for truck time. It’s best to have the truck be able to get close to your formwork and be able to discharge the concrete directly into the forms. If this is not possible, the concrete can be conveyed from one area to another with a variety of methods. Typically one wheelbarrow will not empty the truck fast enough. If using a wheelbarrow, be sure to have multiple wheelbarrows available and many willing and strong hands to keep the concrete flowing. A truck can hold about 10 cubic yards which weighs about 40,000 pounds. If you could take 400 pounds of concrete in each wheelbarrow load, that’s 100 trips back and forth to the truck!
Immediately prior to placing the concrete, the forms and base material should be wet down to insure that forms and base material do not absorb water from the concrete.
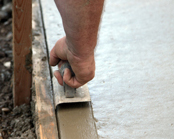
- Strikeoff or Screed – The concrete should be placed just over the top of the forms. You then level the concrete. Frequently a 2” x 4” board wider that the forms is dragged across the formwork in a sawing motion.
- Floating – This process will fill any rough voids left by the screeding action.
- Waiting for Bleed Water – Excess water will bleed out of the concrete. Never over-finish and trap the water below the surface, or finish the concrete while the water is on the surface. The water should evaporate from the surface.
- Jointing – All concrete cracks, so it’s important to let the concrete know where you want it to crack. This is the purpose of joints. An incorrectly placed joint will lead to unpredictable cracking. Joint depth should be at least ¼ the thickness of the slab, but not less than 1 inch. Joint spacing should be 24 to 36 times the thickness of the slab. All panels created from the joints should be nearly square. It’s better to have more joints than less joints, so for example, on a sidewalk that is 4 inches thick, you could joint every 8 feet, but if the sidewalk is 4 feet wide, that would not give you square panels, so you would want to add a joint every 4 feet.
- Edging – This prevents any chipping or damage at the edges of the slab.
- Final Floating and Troweling – This will level the surface.
- Brooming – Concrete can be finished quite smoothly (just think of the floors at a big box store). Typically on exterior slabs, you will want more traction so, a broom or brush finish can provide a nice, slip resistant surface.
Curing
Curing is one of the most important steps for concrete and one of the most neglected. Poor curing of a 4000-PSI mix can result is a 2000-PSI mix at the surface. We highly recommend a quality Cure and Seal compound that will protect your concrete while it hardens and beyond. All exterior concrete should be sealed. BuilderUp has many different types to fit your needs. If plastic is used instead, it should be placed without any wrinkles to avoid discoloring the concrete. Stapling the plastic to the firms can help with this.
Clean Up
You will need to provide a washout area for the truck after it is finished pouring the concrete. This should be a contained area that would not allow liquids to seep into surrounding areas. A wheelbarrow or other container is often the easiest to supply. Wash your tools and equipment thoroughly while the concrete is still wet. It’s easy and cheap to remove wet concrete and nearly impossible with dangerous and costly chemicals to remove it after it hardens.
Concrete 101
History 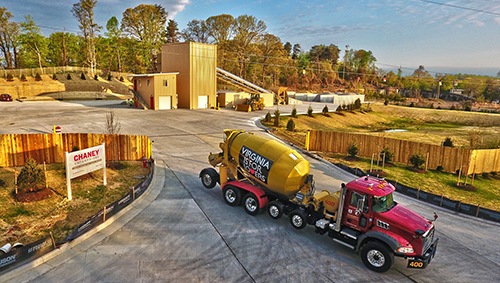
Ingredients - Concrete is not Cement
Concrete is made of four key ingredients:
-
Cement – There are many different types of cement and cementitious materials that when mixed with water produces a paste, that when hardened, bond concrete together. Cementitious replacements of traditional Portland cement include fly ash and slag which are byproducts of the coal burning and metal refining process respectively.
-
Water
-
Aggregates – Typically concrete will include sand (fine aggregate) and either stone or gravel (course aggregate). Aggregates provide the bulk (about two thirds) of the mass of concrete.
-
Admixtures – Admixtures enhance the performance of the concrete or change the way it behaves to facilitate placement are an optional addition to concrete.
The raw materials are loaded from one of our certified concrete plants into a concrete mixer (not a cement truck) where is it mixed together and kept agitated until it arrives at the job site.
Environmental Stewardship
Concrete can measurably reduce energy use which helps the environment and your budget:
-
Concrete roadways can increase fuel efficiency by 4% for smaller vehicle and 7% for large trucks.
-
Because it is produced locally, concrete decreases transportation and pollution.
-
Concrete reduces ambient temperatures resulting in cooler communities and less air conditioning. Eliminating asphalt parking and roads can lower ambient temperatures as much as 10°F.
-
Concrete's reflective properties decrease the energy needed for lighting by 30%.
-
Concrete can be made with recycled materials and can even be recycled itself when finished with its service life. In parking areas and low volume residential roads, pervious concrete is even an option to handle storm water and save space and money.
Durability
Decades of proven performance are the true measure of a street's worth. In community after community concrete meets this standard. America's first concrete street, built in Bellefontaine, Ohio, in 1891 is still in service today. Sioux City, Iowa, public records show their concrete streets last an average of 58 years before replacement and resurfacing. Durability literally stretches your budget and return on investment into decades. Over a 50 year period, concrete will have 1/3 fewer work zones, which not only saves money, but commuters’ time and can greatly decrease work zone accidents and fatalities.
Economic Responsibility
Aside from the costs savings from the environmental advantages, the durability of concrete means significantly less maintenance and rehabilitation. Additionally, because of its perishable nature before curing, concrete is locally produced at plants and employees that work and live in the area. Because asphalt is petroleum based, the combination of increased prices and enhanced refining capabilities limiting asphalt supply, concrete is able to be extremely competitive in initial costs in addition to all the lifecycle and other costs savings mentioned here.
Concrete is not only applicable in new construction of parking lots and roads, but also in resurfacing asphalt surfaces in a process called concrete overlays, or whitetopping. By using this innovative process that is being used across the country on everything from small parking lots to state highways, governments are saving money while being more green. This is an especially prudent application in intersections and other pavements where the flexible asphalt molds and ruts from the heavy starting and stopping of traffic.
Concrete Maintenance
Concrete Maintenance Tips in the Summer 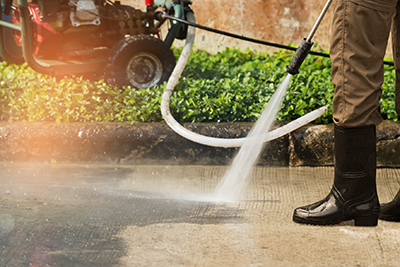
When temperatures change with the seasons, concrete is constantly expanding and shrinking. As temperatures rise in the summertime, concrete tends to expand. This constant expansion and shrinkage can cause cracks if concrete is not properly maintained.
It’s important to routinely clean your concrete surfaces with a pressure washer or hose; a bit of soap won’t hurt either! Once the surface is rinsed thoroughly and has time to dry, consider applying a concrete sealer. Concrete sealers can be purchased at our BuilderUp retail locations and should be applied approximately every 2 years depending on how heavily trafficked your concrete surface is. Additionally, using a concrete cleaner once a year will help keep your concrete looking new and fresh!
Caring for Concrete in Winter Weather
Many homeowners experience disappointment when their new concrete pavement comes out of its first winter season with signs of scaling, which is the flaking and peeling of the concrete surface. To keep this from happening to your new concrete pavement, be sure take these precautions: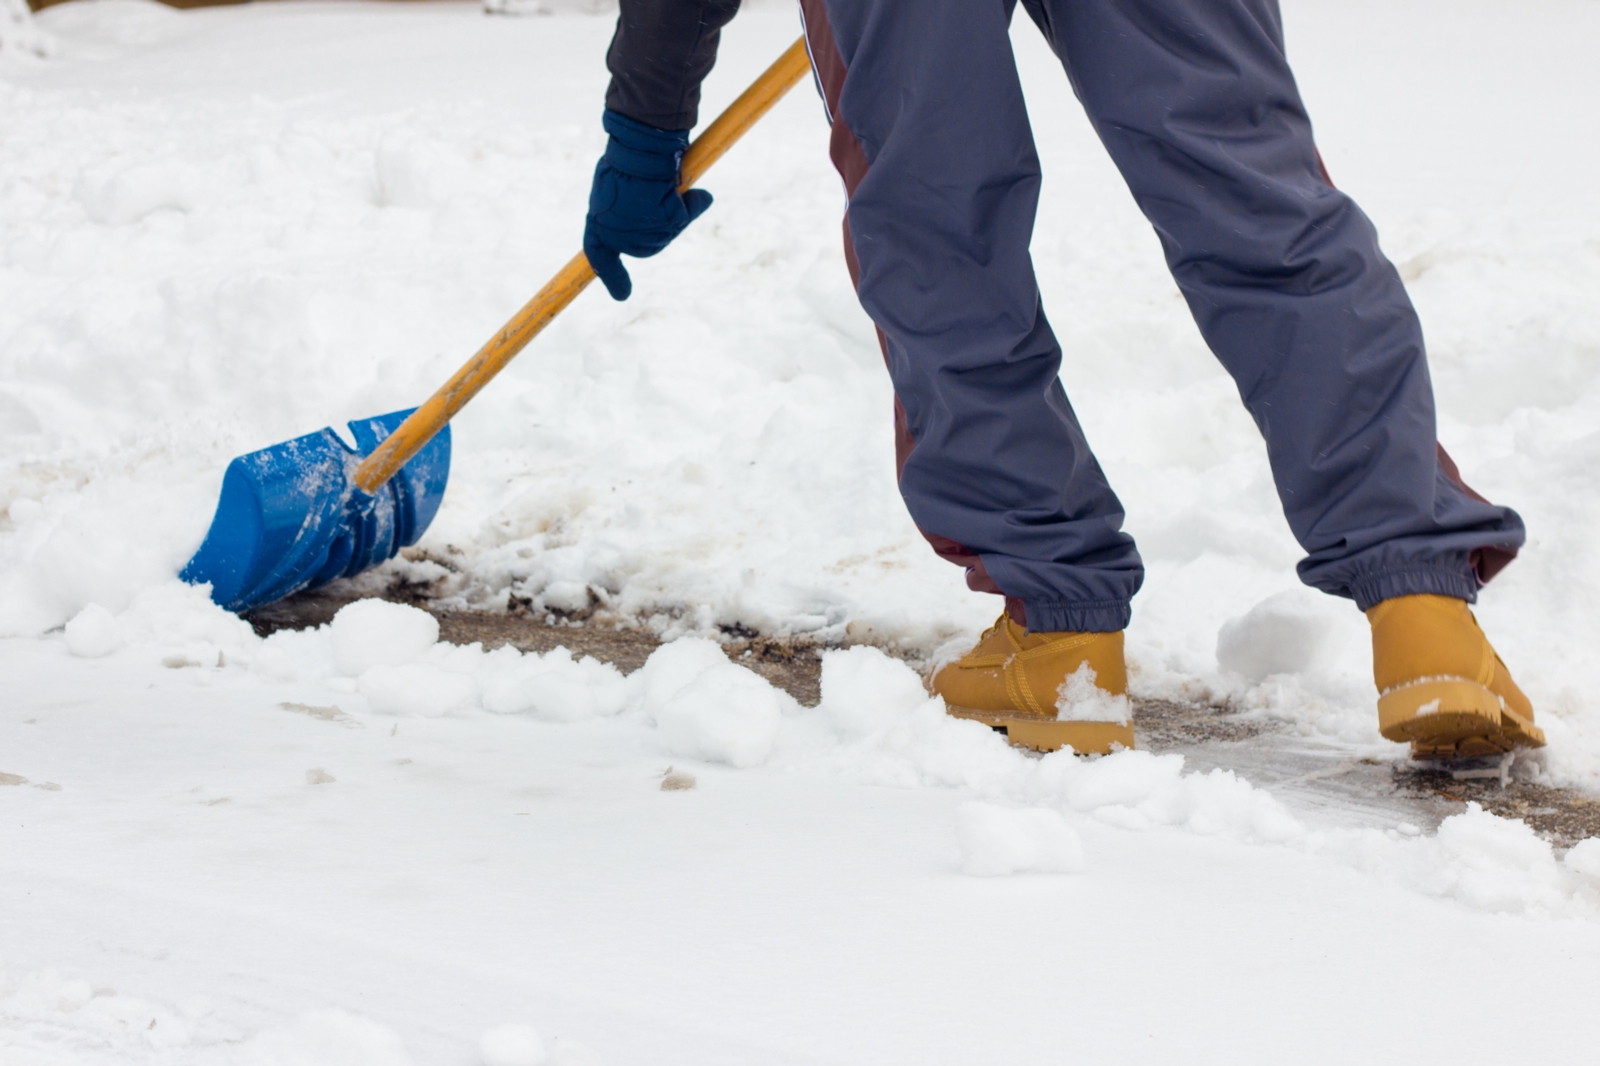
-
Avoid applying de-icing chemicals to concrete less than two years old; use traction sand as a substitute for de-icing chemicals.
- Avoid using calcium or salt on your pavement, regardless of the age, and never use products containing ammonium nitrate or ammonium sulfate (fertilizer). These chemicals are often packaged and sold as de-icers, but they will rapidly disintegrate the concrete.
- After the second winter, if heavy concentrations of chloride will be used as de-icers, apply a concrete sealer in the fall for protection.
- Don’t allow snow and ice to accumulate on the slab during the first winter—keep it cleaned off!
- Hose off the accumulation of salt deposited by cars on newly placed driveways and garage slabs.